
How Flooring Contractors Should Undercut Door Jambs for a Cleaner Installation
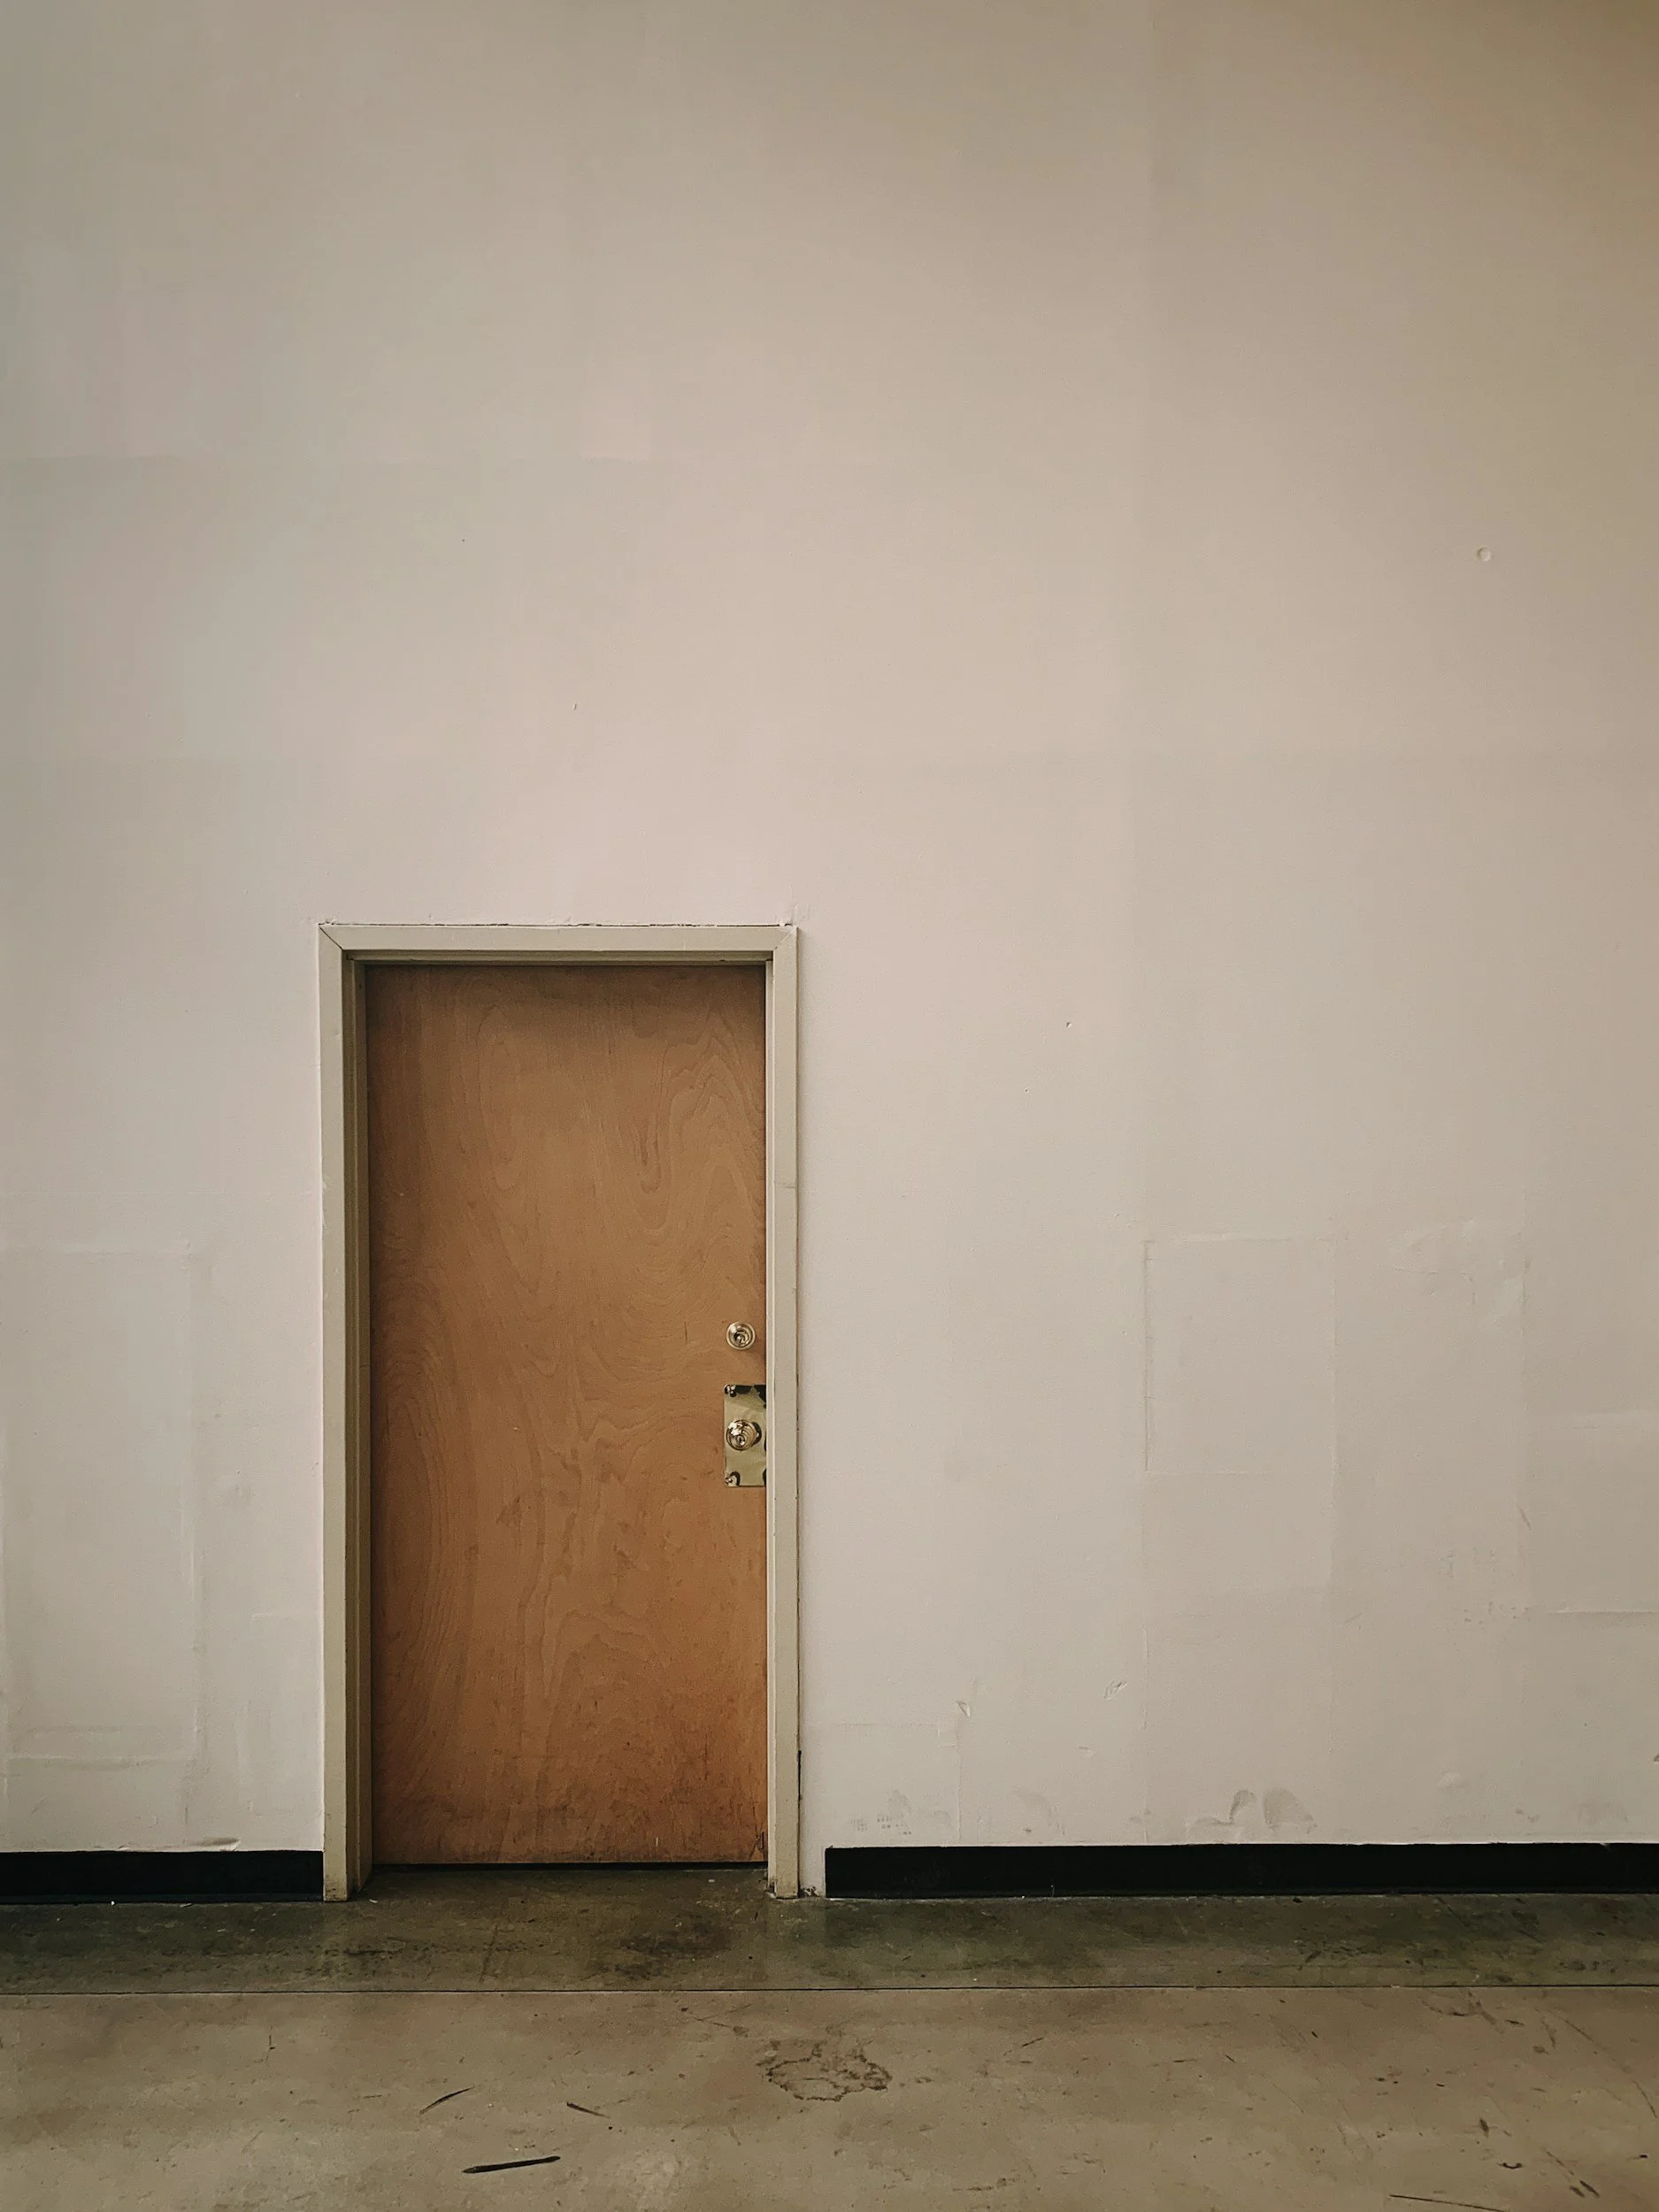
Doorways combine several details in a small space. The floor changes rooms, the jamb may sit out of square, the casing can be different on each side, and the installer still has to preserve the required expansion or edge detail. A cut that is only slightly high remains visible at eye level every time someone walks through the opening.
Undercutting the jamb and casing usually produces the cleanest result because the flooring can slide beneath the trim. The cut still has to be placed at the correct height, and a floating floor must remain free to move below the frame. The flooring manufacturer's instructions control the expansion space, transition, and doorway requirements for the exact product.
Inspect the Doorway Before Cutting
Start before demolition if possible. Determine what flooring exists in each room, what will remain, and whether the new floor continues through the doorway or stops at a transition. Measure the finished height on both sides, including underlayment, patching, membrane, adhesive, and any approved existing layer that will stay.
Look closely at the frame. Older houses may have separate jambs, casing, plinth blocks, stops, and thresholds that sit at different elevations. Split jambs and prehung frames can contain thin parts that loosen if they are cut carelessly. Metal frames, fire-rated assemblies, stone thresholds, and exterior doors may require a different detail and should not be cut without confirming the permitted method.
Check whether the door must be removed and whether its bottom clearance will still work over the new floor.
Identify nails, screws, staples, corner bead, shims, and previous filler near the cut line.
Confirm whether casing continues to the substrate or stops above an existing floor.
Measure adjoining floor heights and select the correct transition profile before installation.
Review the product instructions for expansion space, doorway transitions, and fixed objects.
Use the Actual Flooring Stack to Set the Cut Height
A tape measurement alone is easy to misread at a doorway. Use an offcut of the actual flooring with the required underlayment or pad beneath it. Place that stack beside the jamb and use it as the height guide for the saw.
The sample needs to represent the installed assembly. If the floor has attached pad, do not add another layer unless the manufacturer requires it. If a glue-down floor will sit over patch or membrane, account for the approved system without guessing at a thick adhesive bed. Where an adjoining floor slopes or changes height, check both sides instead of assuming a single cut elevation will fit the entire opening.
Protect the face of finished flooring used as the gauge. Saw teeth, grit, or dragging the tool across the sample can damage the wear layer and alter the cut height. A clean scrap reserved for jamb work is easier to trust.
Choose a Tool That Fits the Opening
A dedicated jamb saw can create a consistent horizontal cut when there is room to hold the tool flat. An oscillating multi-tool is useful around corners, stops, and narrow casing. Whichever tool is used, select a blade intended for the trim material and check for hidden fasteners before forcing the cut.
Keep the tool supported by the flooring sample so the cut remains parallel to the finished surface. Starting freehand and trying to meet another cut around the back of the jamb often produces a step or upward angle. Cut the casing and jamb cleanly without removing more material than the floor needs.
Control dust and chips, and protect nearby walls, doors, and finished floors. When painted trim in a pre-1978 building will be cut or sanded, determine whether lead-safe renovation requirements apply before disturbing it.
Remove the Waste Without Damaging the Frame
After the horizontal cut is complete, score paint and caulk where needed so the waste does not tear the casing finish. Work the cutoff loose with a narrow tool rather than prying against the visible face. Clean the cavity and remove fastener points that could scratch the plank or hold it above the substrate.
Inspect the underside of the cut. A loose casing leg can be resecured above the flooring path, but fasteners should not pass through a floating floor or close the required expansion space. Repair splintered edges before the final plank is installed.
Preserve the Expansion Space Under the Jamb
Sliding flooring beneath the casing hides the edge, but it does not eliminate the product's expansion requirement. The panel cannot be jammed against the wall plate, jamb, shim, fastener, or flooring in the adjoining room. The hidden clearance should meet the current installation guide.
Door frames can also become pinch points when the jamb sits firmly on top of a floating floor. Current laminate guidance from Pergo states that the base of the doorframe must not create a fixed point. Other products have their own details, so check the exact floor rather than applying one gap or transition rule to every installation.
Water-resistant perimeter systems may require compressible foam and approved sealant around doorframes while still preserving movement. Ordinary hard caulk packed into the gap can bind the floor. Use the accessories and method identified by the flooring manufacturer.
Dry Fit the Doorway Before Locking the Field
A plank can fit under the casing and still be impossible to angle or click into place after surrounding rows are installed. Plan the doorway sequence early. Dry-fit the cut piece, confirm its path beneath both sides of the frame, and verify the transition position before the field closes around it.
Some locking systems allow a tapping block or pull bar in confined areas. Others require a prescribed modification and adhesive at the joint. Do not shave a locking profile or hammer directly on an edge unless the installation instructions permit that method.
Where floors stop at the doorway, center the transition where it works with the closed door and leaves required clearance on each side. A transition installed as an afterthought can end up exposed from one room, too close to the jamb, or fastened through a floating panel.
Finish the Doorway Without Hiding a Bad Cut
The floor should extend far enough beneath the casing that normal viewing angles do not reveal the raw edge. At the same time, forcing material deep under the jamb can make the last connection difficult and reduce expansion space.
Small trim gaps may be corrected with a manufacturer-approved detail, but caulk should not be used to rebuild an overcut casing leg. A high cut is often more visible after caulk collects dirt or changes color. Replacing or properly repairing damaged trim produces a cleaner result than shaping a large filler bead around the floor.
What to Check When Estimating Flooring Doorways
Number and type of doorways, including closets, exterior doors, cased openings, and metal frames.
Flooring type, installation method, underlayment, and total finished height.
Adjoining floor material and the required transition profile.
Door removal, trimming, rehanging, and hardware adjustment.
Painted trim condition and possible lead-safe work requirements.
Existing undercuts that are too high, too low, angled, or damaged.
Water-resistant perimeter details required at bathroom, laundry, or exterior-adjacent openings.
Special frames or thresholds that require approval from another trade or manufacturer.
Common Door Jamb Undercutting Mistakes
Setting the saw on bare flooring while forgetting the underlayment or attached system height.
Using a tape measurement without checking the actual flooring stack.
Cutting freehand and leaving an angled or stepped opening.
Missing hidden fasteners and forcing the blade through them.
Sliding the plank under the casing with no hidden expansion clearance.
Allowing the jamb or casing to bind a floating floor.
Waiting until the field is installed to decide how the doorway piece will connect.
Trying to conceal an overcut casing with a large bead of caulk.
Door Jamb Flooring Questions
How high should a door jamb be undercut for flooring
Set the cut using the actual flooring and required underlayment or pad as a physical gauge. The material should slide beneath the frame without an excessive visible gap or pressure that pins the floor.
Does flooring still need an expansion gap under a door jamb
Floating products generally require clearance around the full perimeter and fixed objects, including hidden areas beneath doorframes. Use the exact manufacturer's expansion and doorway instructions.
Can a metal door frame be undercut
Do not assume it can. Metal, fire-rated, structural, and exterior frame assemblies may have restrictions. Confirm the assembly requirements and use an approved transition or edge detail when cutting is not permitted.
Should the transition be installed before or after the doorway planks
Plan its location and fastening method before laying the surrounding floor. The installation sequence depends on the profile and flooring system, but the transition should not bind or fasten through a floating panel.
Final Thoughts
Clean doorway work begins with the full flooring stack and the manufacturer's movement requirements. Inspect the frame, set the saw on an actual material sample, cut without damaging the visible trim, preserve the hidden clearance, and dry-fit the doorway before the surrounding rows remove your working room.
Where HeyPros Fits In
HeyPros helps flooring contractors find local homeowners planning installation and replacement projects. When a lead includes several rooms, ask how many doorways are involved, what flooring remains in adjoining spaces, whether doors already drag, and whether the project includes exterior thresholds or metal frames. Those details make it easier to estimate trim work and transitions before the walkthrough.
Suggested internal links
How Flooring Contractors Should Decide Which Leads to Pursue
How Contractors Can Write Better Estimates Before Pricing the Job
