
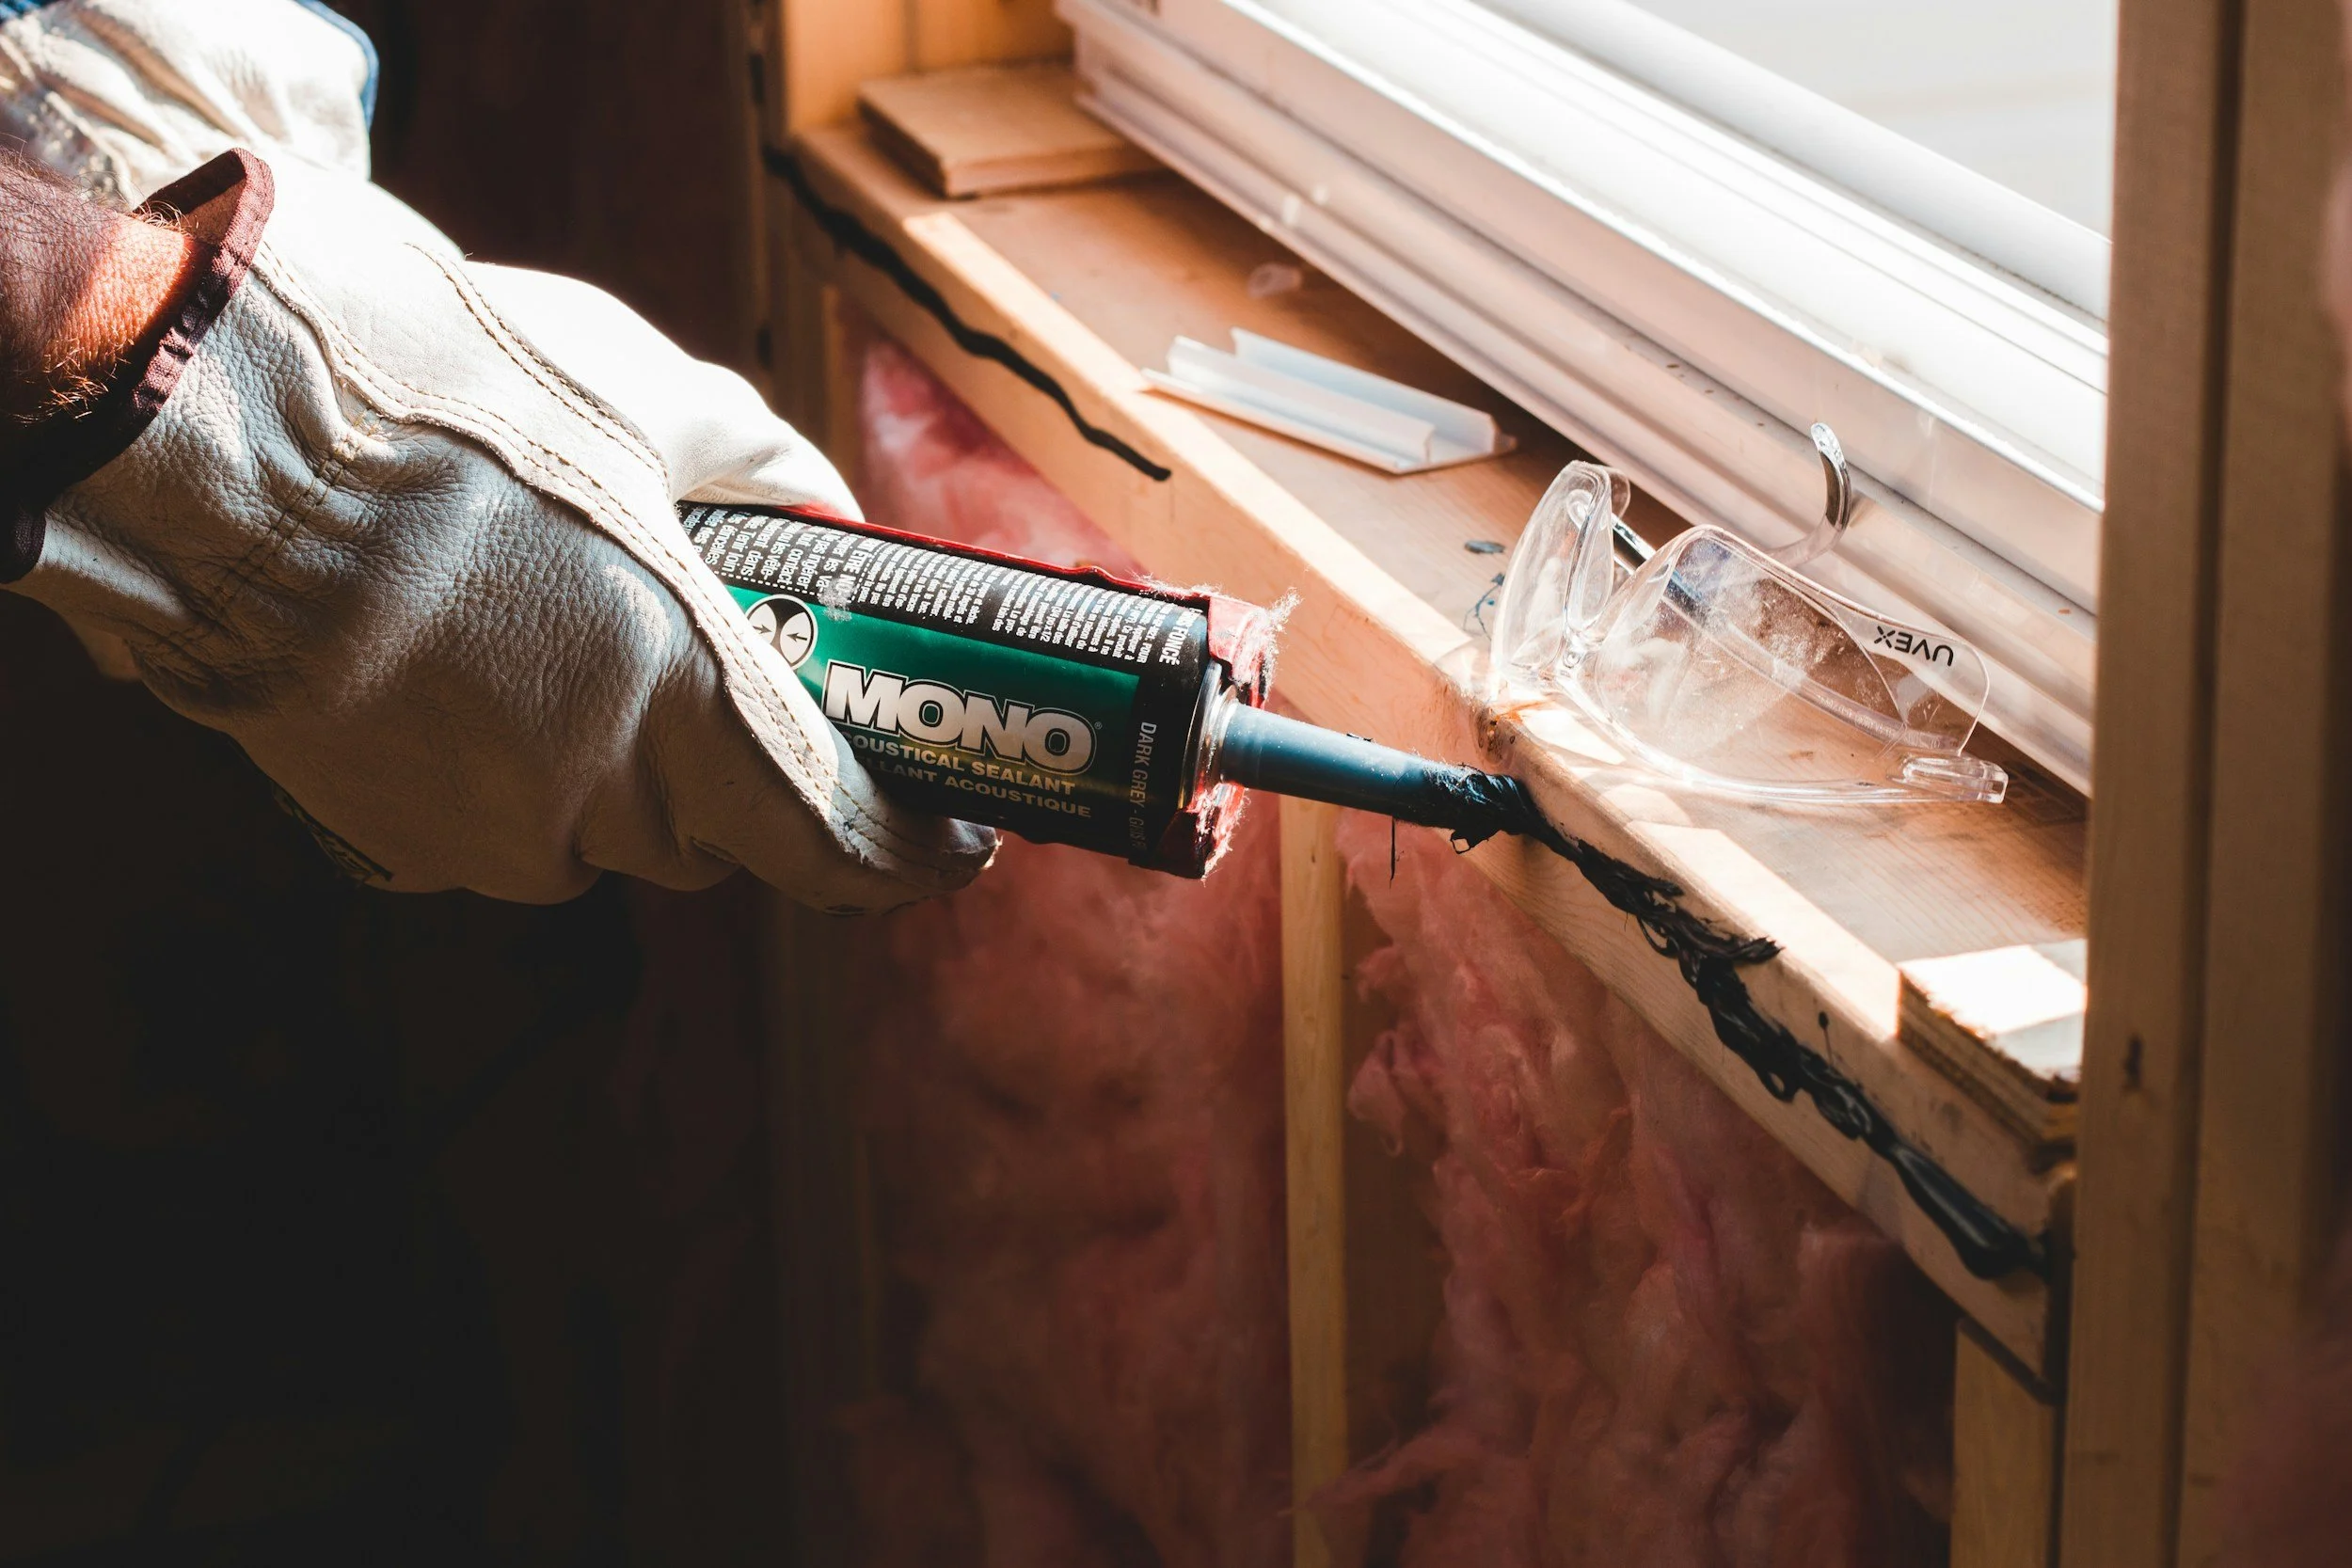
Exterior caulk does not fail only because the wrong tube was purchased. Many failures begin with the joint beneath it. A deep gap packed solid with sealant, a bead spread thin across an open void, or a joint bonded on the bottom and both sides cannot move the way the sealant was designed to move.
Backer rod is a simple part of the assembly, but it controls several things at once. It limits sealant depth, supports tooling, and prevents the sealant from bonding to the bottom of the joint. Used correctly, it helps create a bead that can stretch and compress between two sound sides. Used incorrectly, it can introduce bubbles, moisture concerns, or poor adhesion.
Start by Identifying the Joint
Before removing old caulk, determine what the joint is doing. A narrow crack in a trim board is different from a movement joint between masonry and a window frame. Lap-siding butt joints, flashing details, horizontal joints, penetrations, and dissimilar materials may each have different sealing requirements.
Confirm that the joint is supposed to receive sealant. Some siding, cladding, window, and wall systems depend on drainage openings or unsealed laps. Filling those locations can trap water or interfere with movement. Review the product installation instructions and building detail instead of caulking every visible line.
Identify both materials at the joint and whether they expand at different rates.
Look for recurring movement, water entry, failed flashing, loose trim, or decayed material.
Determine whether the joint is vertical, horizontal, overhead, submerged, or exposed to ponding water.
Check whether the existing sealant failed adhesively at the sides, split through the middle, or tore the substrate.
Confirm the required sealant type, joint dimensions, primer, and backing material from the current product data.
Remove Failed Material to Sound Joint Faces
New sealant needs to bond to clean, sound sides. Cutting away the visible bead while leaving a thin film of old sealant on the joint faces can prevent adhesion. Remove loose coating, deteriorated wood fiber, dust, oil, release agents, and incompatible sealant residue using methods approved for the substrate.
Porous surfaces may need brushing, grinding, or another mechanical preparation. Nonporous surfaces may require a manufacturer-approved cleaner and a two-cloth cleaning method. Do not assume the same solvent is safe for painted metal, vinyl, glass, and masonry. Allow washed or solvent-cleaned surfaces to reach the required condition before priming or sealing.
If the joint edges are rotten, cracked, loose, or crumbling, repair those materials first. Sealant cannot create a durable joint when it is attached to a surface that separates under light pressure.
Why Three Sided Adhesion Causes Trouble
A moving sealant joint is generally designed to bond to the two opposing sides. When sealant also bonds to the bottom, it is restrained in three directions. That condition concentrates stress and reduces the bead's ability to stretch across the joint.
Backer rod acts as a bond breaker at the bottom while establishing the depth of the sealant. The finished bead is usually thinner through the middle than at the bonded sides, producing the hourglass profile used in many high-performance joint designs. The exact dimensions are product-specific, so the sealant data sheet controls.
Choose the Correct Backing Material
Backer rod is available in closed-cell, open-cell, and hybrid forms. They do not behave identically. Closed-cell rod resists water absorption and is commonly used where moisture exposure matters, but puncturing its outer skin can cause outgassing and bubbles in the sealant. Open-cell material compresses easily and can assist curing from the back, but it should not be used where it can wick ponding water. Hybrid products combine characteristics of both.
A shallow joint may not have enough depth for backer rod. In that case, the sealant manufacturer may permit a bond-breaker tape that prevents adhesion to the bottom without taking up the same space. Do not force oversized foam into a shallow joint and leave too little room for the required sealant depth.
Select the backing material for the sealant chemistry, orientation, exposure, and joint design. A rod that works behind a vertical polyurethane joint may not be the correct choice for a horizontal joint exposed to water.
Size and Install Backer Rod Without Damaging It
Backer rod is normally selected slightly larger than the joint so it stays in place under compression. The required oversize amount varies by product. Measure the actual joint rather than choosing rod by appearance, and follow the backing manufacturer's sizing instructions.
Push the rod to a consistent depth with a blunt installation tool or roller. Do not use a screwdriver, knife point, or sharp putty knife that can puncture closed-cell material. Keep the rod smooth through corners and avoid stretching it lengthwise, since stretched foam can recover later and disturb the sealant.
Set the depth to create the bead dimensions required by the sealant manufacturer. Many joint guides use a width-to-depth relationship, but minimum and maximum depths vary. The tube label alone may not contain the complete joint design, so review the technical data sheet before estimating material and labor.
Prime Only When the System Requires It
Some sealants bond to properly prepared substrates without primer. Others require primer on specific masonry, metal, wood, coated, submerged, or high-movement applications. Primer cannot replace cleaning or removal of weak material.
When primer is required, apply it to the joint sides at the listed coverage and allow the specified open time. Puddled primer can interfere with adhesion, and primer outside the joint can stain adjacent material. Complete a field adhesion test when the substrate, old coating, cleaner, or sealant history creates uncertainty.
Gun and Tool the Sealant as a Continuous Bead
Cut the nozzle to suit the joint and keep it deep enough in the bead to push sealant against the sides without trapping air. Move at a steady pace and fill the joint continuously where practical. Skipping low areas and wiping a skin over the top can leave a hollow bead that looks complete until movement begins.
Tool the sealant within its working time to press it against the bond surfaces and shape the bead. Use the tooling method approved for the product. Some sealants should be dry-tooled and can be damaged by water, soap, alcohol, or solvent on the tooling surface.
Masking tape can protect adjacent finishes when neat edges matter, but remove it before the sealant forms a skin. Respect application temperature, surface dryness, cure time, weather exposure, and paintability. A paintable label does not mean every coating can be applied immediately or remain intact across a moving joint.
What to Check When Estimating Exterior Caulking
Total joint length, average width, depth, and changes in dimension.
Substrates on both sides and the condition of each bond surface.
Existing sealant type, removal difficulty, and disposal requirements.
Backer rod or bond-breaker tape type and size.
Primer, cleaner, masking, and field adhesion testing.
Access equipment, fall protection, landscaping, glass, and adjacent finish protection.
Weather window and cure time before rain, washing, or coating.
Repairs by carpentry, masonry, roofing, window, or waterproofing trades before sealing.
Common Exterior Sealant Joint Mistakes
Applying new sealant over a thin film of failed material.
Caulking joints that are designed to drain or remain open.
Filling a deep void completely with sealant instead of controlling the depth.
Allowing the bead to bond to the bottom and both sides of a moving joint.
Puncturing closed-cell backer rod with a sharp tool.
Using open-cell rod where water can pond and wick through the backing.
Skipping substrate-specific cleaning, primer, or adhesion testing.
Tooling a thin surface skin over an incompletely filled joint.
Backer Rod and Exterior Caulk Questions
Does every exterior caulk joint need backer rod
No. Backer rod is used when the joint depth and design call for backing. Shallow joints may use approved bond-breaker tape, while small static gaps may be detailed differently. Follow the sealant and assembly instructions.
How large should backer rod be
It is generally selected larger than the joint width so it remains in place under compression, but the amount varies by product. Measure the joint and use the backing manufacturer's sizing guidance.
Can backer rod stop a leak by itself
No. It controls the sealant joint and supports installation. Roof, flashing, drainage, cladding, and substrate failures still need to be corrected by the appropriate scope of work.
Can exterior caulk be painted immediately
Paintability and waiting time depend on the sealant and coating. Review both product data sheets, allow the required cure or skin time, and test compatibility when the system is uncertain.
Final Thoughts
Exterior sealant lasts longer when the joint is built for movement. Remove failed material, repair weak edges, choose the backing for the exposure, control the bead depth, and preserve adhesion to the two joint sides. Product selection matters, but the joint underneath the product determines whether that sealant can perform.
Where HeyPros Fits In
HeyPros connects painting and exterior maintenance contractors with homeowners planning local projects. When a lead mentions cracked caulk, leaking trim, or joints that have been repaired several times, request wide photos, close photos, the material on each side, and the locations that receive direct weather. That information helps you distinguish a normal reseal from a joint that needs carpentry, flashing, or masonry work first.
Suggested internal links
How Contractors Can Write Better Estimates Before Pricing the Job
How Painting Contractors Should Decide Which Leads to Pursue
