
How Painting Contractors Can Keep Drywall Repairs From Flashing Through Paint
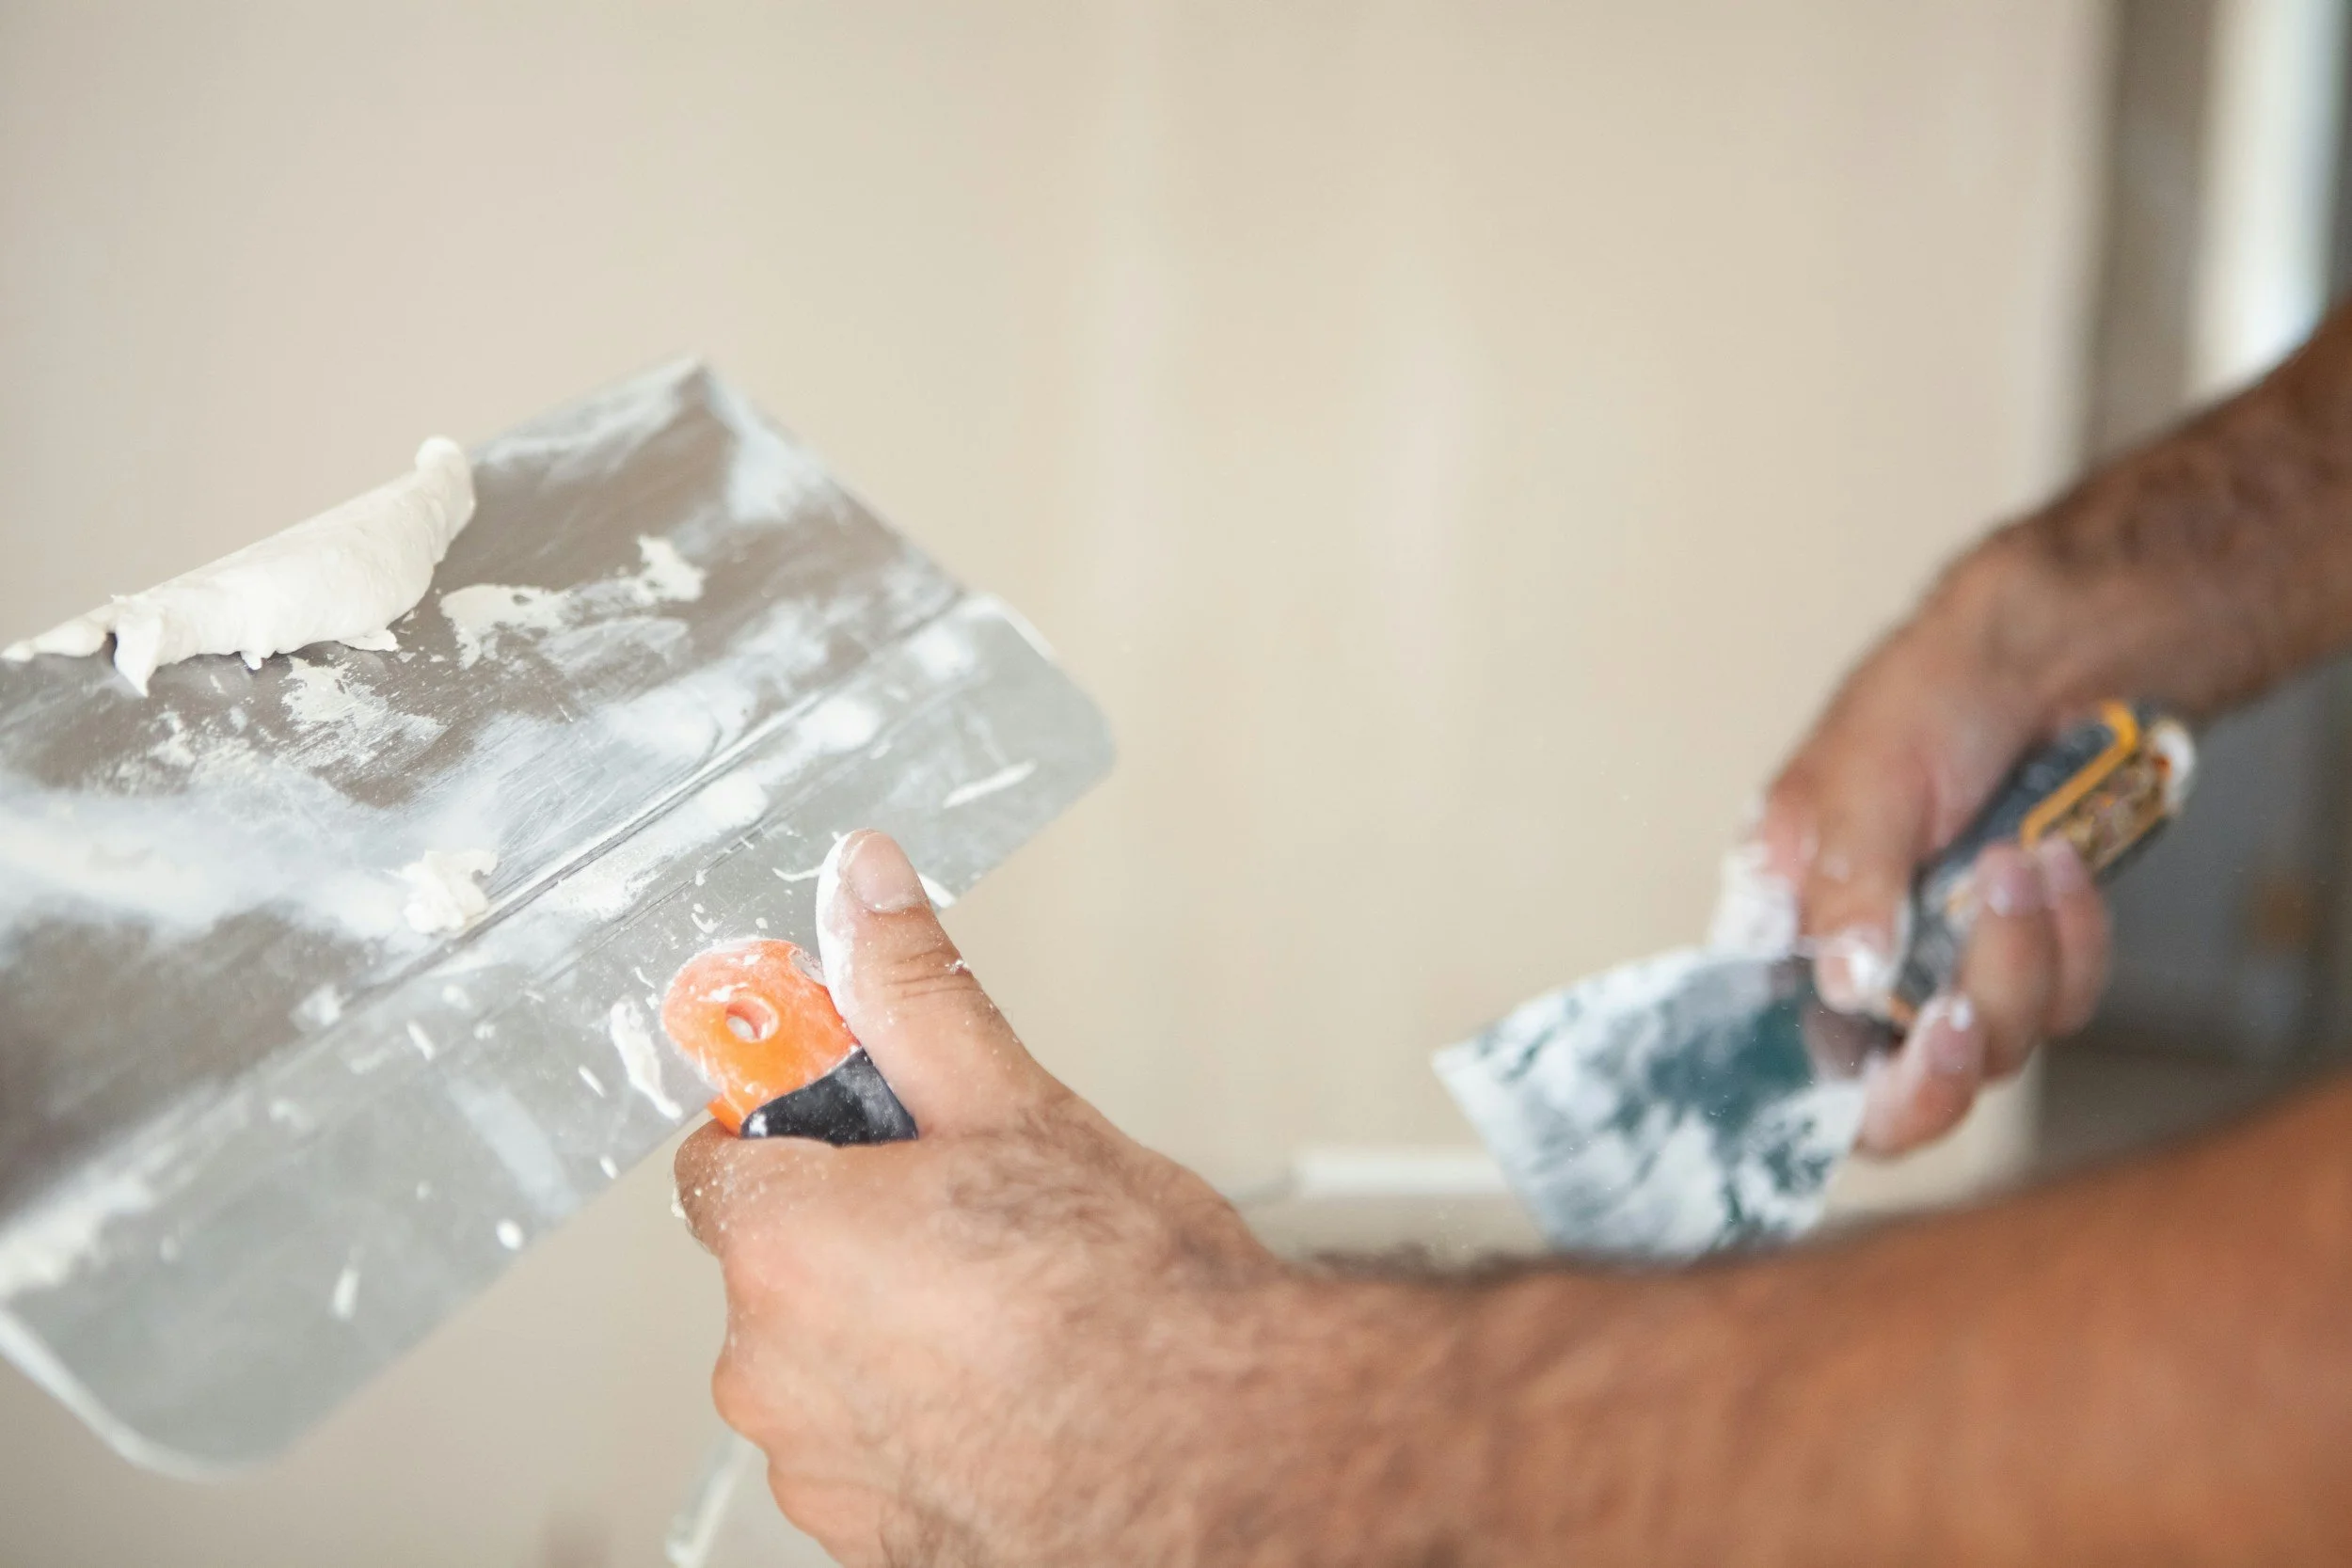
A drywall repair can feel smooth, accept paint, and still remain visible from across the room. The problem usually appears after the finish dries or when daylight runs across the wall. The center of the patch may look acceptable while the feathered edge, primer spot, or roller pattern gives away the repair.
Painters often call the result flashing, photographing, or joint banding. Those terms can describe several different conditions. The repaired area may have a slightly different profile, absorb paint at a different rate, carry a different surface texture, or reflect light differently because of the finish sheen. Reliable correction starts by deciding which condition is visible instead of adding another coat and hoping it disappears.
Why a Drywall Patch Shows Through Paint
Joint compound and painted drywall do not behave like the same surface. Compound is porous and usually smoother than the surrounding painted wall. Even after primer, a repair can remain visible when the patched area and the original wall do not have similar absorption and texture.
Profile is another common cause. A patch may be technically filled but still have a shallow crown, a hard ridge at the perimeter, or a dish created by sanding the center too aggressively. Straight-on lighting can hide these differences. Side lighting from a window, wall sconce, or recessed fixture can make them obvious.
Finish paint can magnify the difference. Higher sheens reflect more light and tend to reveal surface variation. Dark colors can make roller marks and changes in texture easier to see. Older paint can also change color and sheen over time, so a fresh touch-up from the original can may not blend into the surrounding wall.
Inspect the Repair Before Adding More Compound
Run a clean hand across the area, but do not use touch as the only test. Hold a work light close to the wall and aim it across the surface from several directions. The low angle will show a ridge, depression, scratch pattern, or edge that normal room lighting may hide during preparation.
Look at the repair from the distance and direction where the homeowner will normally see it. A patch beside a window should be checked in daylight as well as under artificial light. A ceiling repair should be viewed from multiple points in the room because the light angle changes as a person moves.
Check whether the repair is proud of the wall, hollow in the center, or simply different in texture.
Look for sanding scratches, pinholes, paper fuzz, torn face paper, ridges, and dust at the feathered edge.
Confirm that the surrounding coating is sound and that water damage or movement is not continuing behind the patch.
Identify the existing wall texture and the roller pattern used on the surrounding finish.
Check the sheen and color match before deciding that the patch itself is the only problem.
Feather the Repair Far Enough to Lose the Edge
Small damage does not always produce a small finished repair. The compound needs enough width to move gradually from the filled area back to the original wall plane. Keeping every coat close to the hole can build a noticeable mound. Heavy sanding of that mound can create a low center and expose paper at the edge.
Apply thin, controlled coats and widen each coat as needed. Keep the knife clean and remove lap marks before the material hardens. After drying, sand the transition rather than grinding the entire repair flat. If the compound is soft or powdery, forcing the sanding step can leave an uneven surface that becomes more visible under primer.
A straightedge can help on larger repairs, especially where a panel replacement meets the existing board. It should be used with side lighting because a straightedge can identify a hump while missing a change in texture that will still show after paint.
Match the Existing Wall Texture
A perfectly flat patch can still flash when the original wall has years of roller stipple or a sprayed texture. New compound sanded smooth does not scatter light the same way as an existing eggshell wall rolled several times.
For a rolled surface, use a roller cover that produces a texture close to the surrounding paint and apply it with similar pressure. A thick roller on a smooth wall can leave a raised island. A very short nap on a heavily stippled wall can leave a smooth spot. Test the texture before finishing a prominent repair.
Orange peel, knockdown, sand finish, and other textures require their own repair technique. Match pattern size, density, and flattening rather than treating texture as a final mist around the patch. A small test board is useful when the existing texture is irregular or has been repainted several times.
Prime the Complete Repaired Area
Drywall primer helps equalize absorption between the joint compound and the surrounding surface. The repair must be dry, sound, and free of sanding dust before primer is applied. Follow the primer instructions for spread rate, temperature, drying time, and compatibility with the finish coat.
A dry roller pass over the center of the patch may seal part of the compound while leaving the feathered perimeter uneven. Apply a complete, uniform coat across the entire repaired area. If torn drywall paper was exposed, use a repair product intended to seal the damaged paper before applying water-based patching material, since ordinary wet compound can cause the paper to bubble.
Spot priming is useful, but it can create its own visible boundary on a wall with strong side lighting or a higher-sheen finish. When appearance standards are high, extending primer beyond the patch or priming the complete wall may produce a more uniform base. The exact choice depends on the repair size, existing coating, color, sheen, and lighting.
Decide Whether a Touch Up Can Blend
Touch-up success depends on more than having the same paint name. Batch, age, storage, application method, roller cover, film thickness, room temperature, and the condition of the existing wall all affect the result. Paint that has been on the wall for several years may no longer match material stored in the can.
Flat finishes are often easier to blend than satin or semigloss, though product behavior varies. When the repair sits in an open wall with direct daylight, finishing from corner to corner usually provides a more predictable appearance than repeatedly expanding a touch-up spot.
Set that expectation during the estimate. If the customer wants the repair to disappear under demanding lighting, price the wall finish required to deliver that result rather than promising that a small spot coat will blend.
Use Lead Safe Practices Where Required
Sanding or cutting through painted surfaces in pre-1978 housing and child-occupied facilities can create regulated lead dust. Contractors should determine whether the EPA Renovation, Repair and Painting Rule or an authorized state program applies before disturbing the surface. The age of the building and the amount of painted material disturbed belong in the job plan before sanding begins.
What to Check When Estimating a Patch and Paint Job
Number, size, and location of repairs, including ceilings and areas beside windows.
Cause of the damage and whether leaks, settlement, or movement have been corrected.
Existing texture, paint color, sheen, and approximate coating age.
Lighting conditions that will expose the finished surface.
Whether the wall can be finished from corner to corner.
Protection, dust control, furniture movement, and access requirements.
Potential lead-safe work requirements on older buildings.
Drying time between compound, primer, texture, and finish coats.
Common Drywall Repair Painting Mistakes
Judging the patch only by touch and checking it under one lighting condition.
Building a thick mound of compound over a small repair and sanding the center too hard.
Leaving sanding dust at the feathered edge.
Priming only the center of the patch and leaving porous compound around it.
Using a roller cover that leaves a different texture from the surrounding wall.
Assuming another finish coat will correct a profile or texture problem.
Promising an invisible spot repair on an aged, higher-sheen wall without testing the blend.
Drywall Patch Flashing Questions
Why can I still see a drywall patch after priming and painting
The repair may differ from the wall in profile, porosity, texture, color, or sheen. Side lighting can also reveal a shallow ridge that was not visible during preparation. Identify the visible difference before choosing the correction.
Should drywall patches always be primed
Bare joint compound should be primed with a product approved for the surface and finish system. Primer helps equalize absorption, but the repair still needs correct feathering, sanding, cleaning, and texture.
Can another coat of paint hide a flashing patch
It may improve coverage when the issue is uneven absorption or color, but it will not remove a ridge, depression, sanding scratch, or texture mismatch. Correct the underlying condition first.
When should the entire wall be repainted
A full wall coat is often the safer choice when the existing finish has aged, the sheen is difficult to blend, the repair is in strong side lighting, or the customer expects a uniform appearance from corner to corner.
Final Thoughts
Visible drywall repairs are rarely solved by paint alone. Check the profile under side lighting, feather the compound gradually, reproduce the wall texture, prime the complete repair, and decide honestly whether a spot touch-up can blend. That preparation gives the finish coat a surface it can actually make uniform.
Where HeyPros Fits In
HeyPros helps painting contractors connect with local homeowners planning repair and repainting work. When a lead mentions patched walls, water damage, or previous touch-ups that still show, ask for wide photos, close photos, the wall location, the existing sheen, and the age of the home. Those details help you decide whether the visit involves a small patch, a texture repair, or repainting a complete wall.
Suggested internal links
How Contractors Can Write Better Estimates Before Pricing the Job
How Painting Contractors Should Decide Which Leads to Pursue
