
How Painting Contractors Should Handle Efflorescence Before Coating Masonry
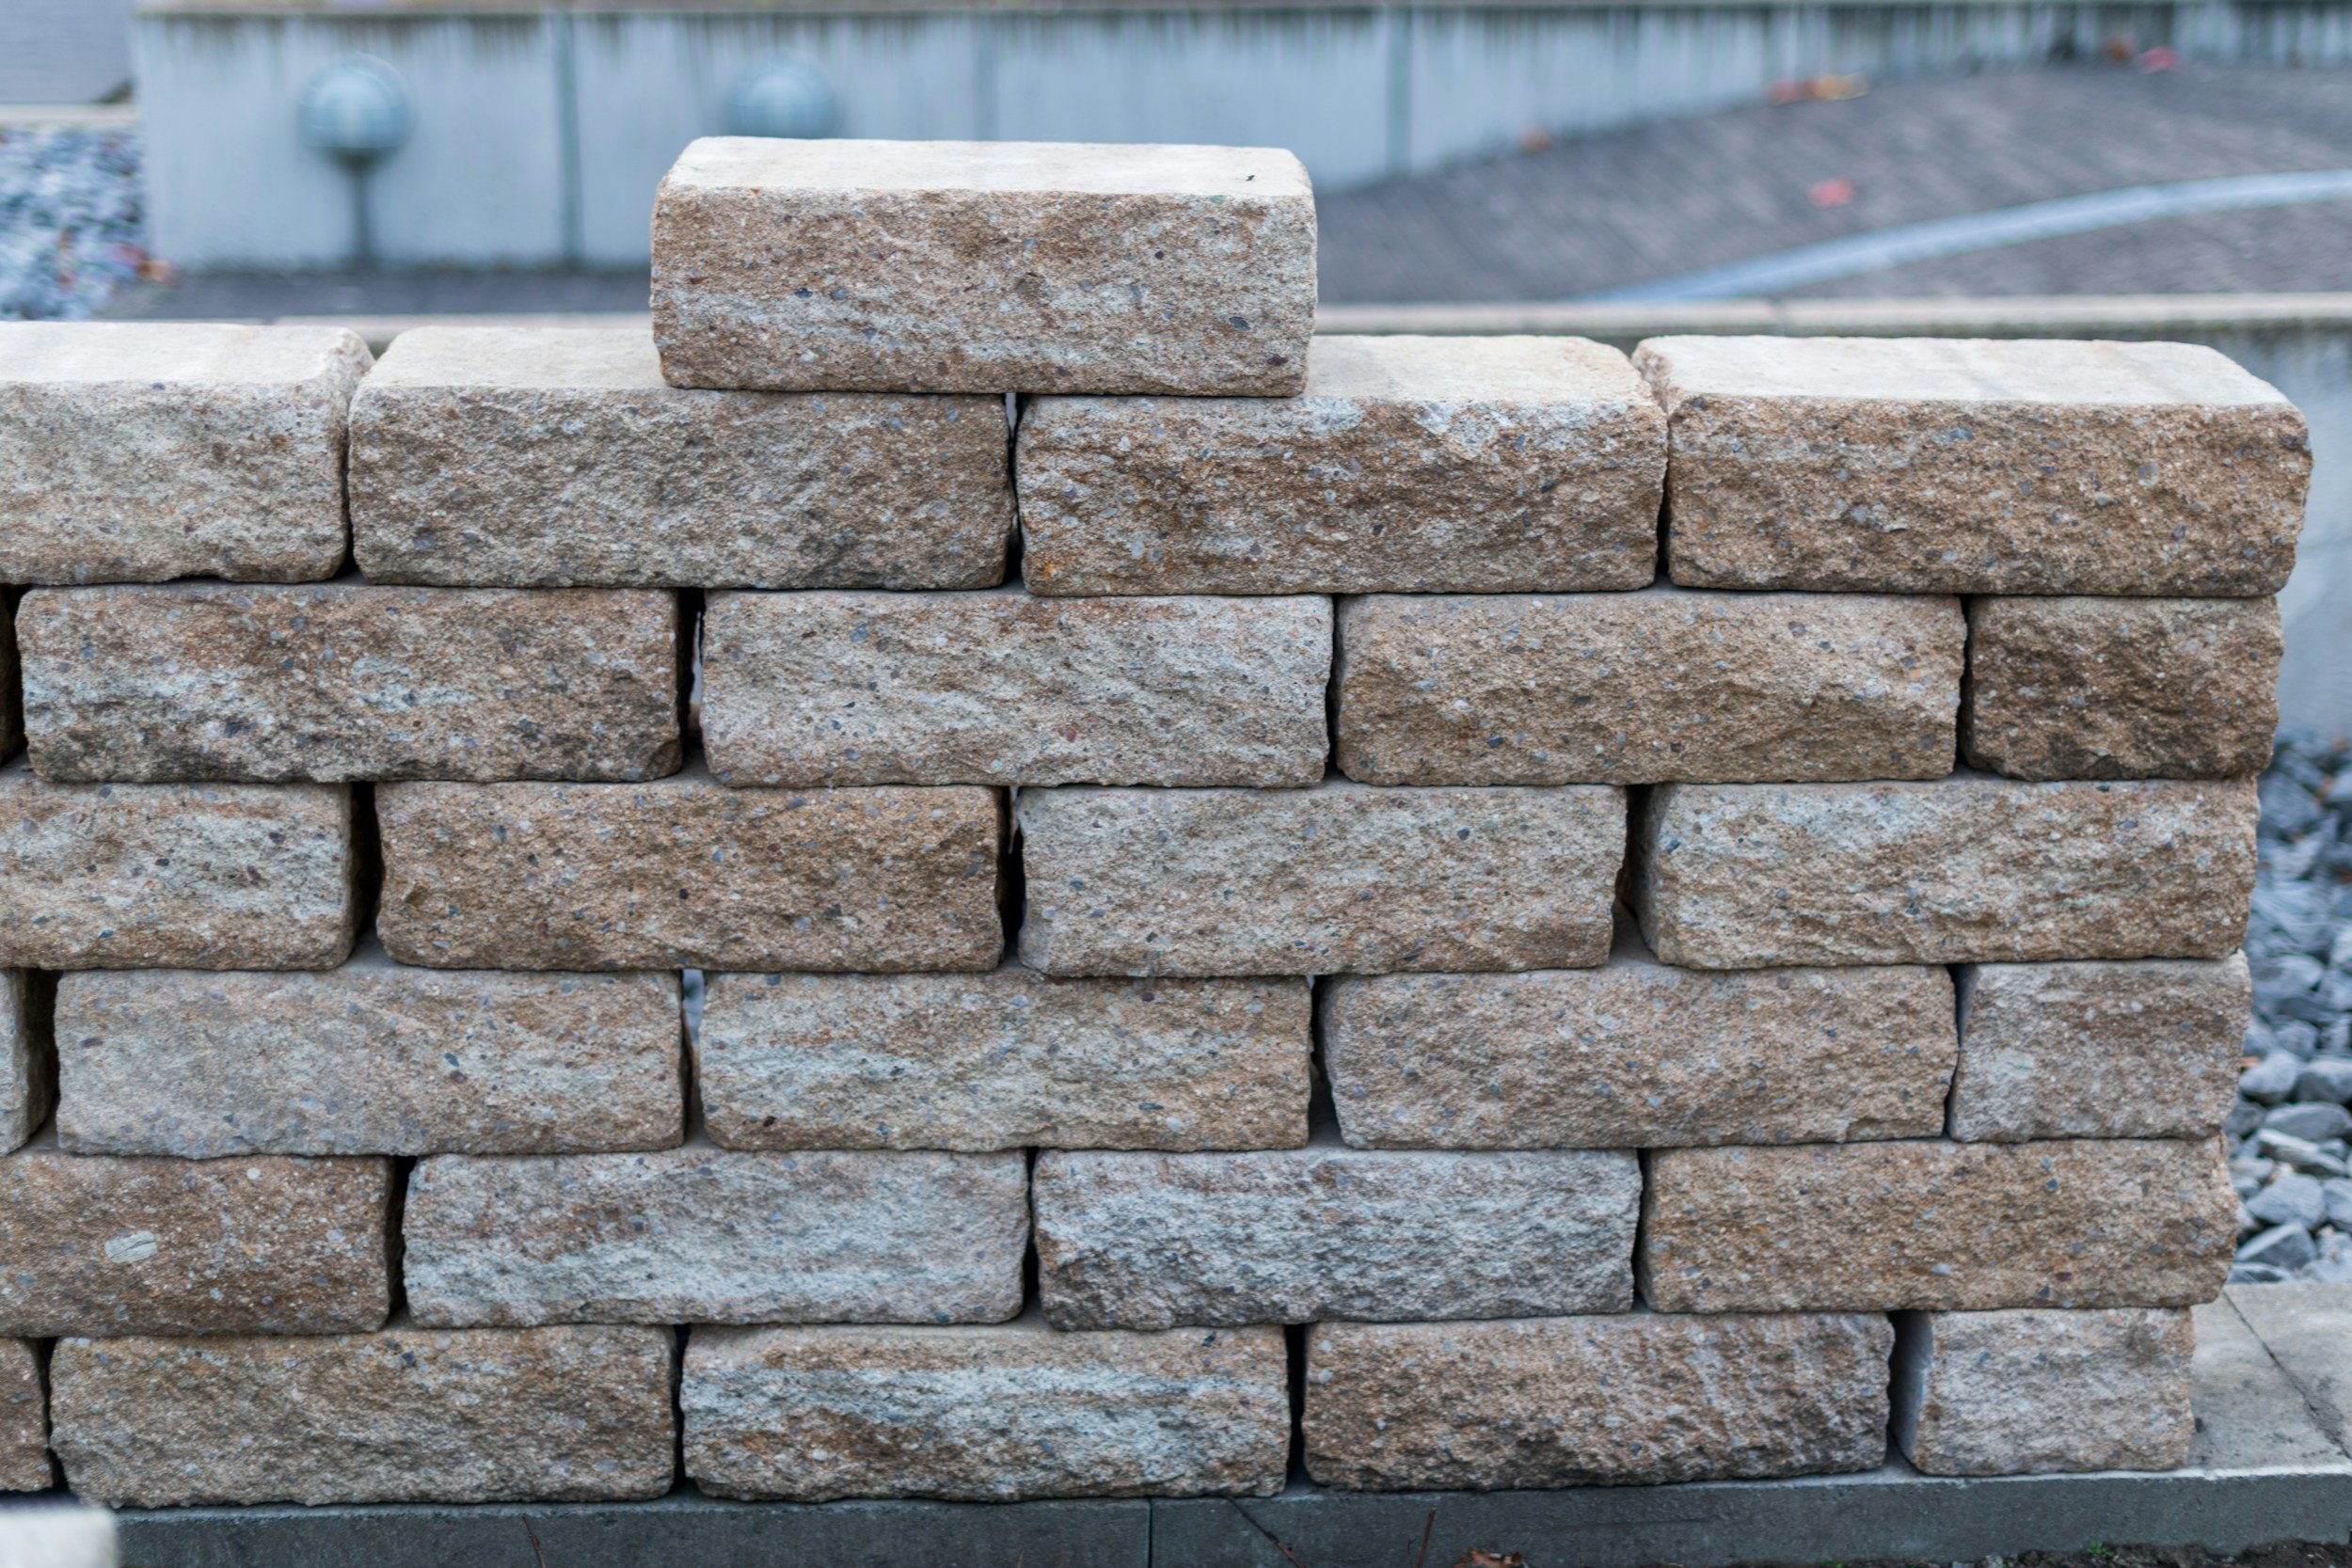
White powder on block, brick, stucco, or concrete is easy to treat as a cleaning problem. On many masonry surfaces, it is efflorescence: soluble salts carried through the material by moisture and left behind as the water evaporates. Brushing away the deposit improves the surface, but it does not explain why the water moved through the wall.
A coating applied over active efflorescence can lose adhesion, blister, discolor, or fail again as salts and moisture return. The painter's job is to remove the deposit, investigate the moisture path, confirm that the masonry is ready, and select a coating system appropriate for the substrate and exposure.
What Efflorescence Tells You
Efflorescence needs three things: soluble salts, water to dissolve them, and a path to the surface. The salts can come from the masonry, mortar, soil, or water moving through the assembly. The visible powder is the end of that process. If water continues to enter, the deposit can return after cleaning or push behind a new coating.
New concrete, mortar, and stucco can show temporary deposits as construction moisture leaves the material. Existing buildings can develop efflorescence because of roof or gutter problems, failed sealant, cracks, irrigation, high grade, ground moisture, interior humidity, or water entering from the back side of the wall. Below-grade walls require special attention because hydrostatic pressure may be involved.
Confirm That the Deposit Is Efflorescence
Efflorescence is generally a dry, crystalline, white or light-colored deposit. Chalking paint can also leave a white residue, while lime run can create harder streaks. Mold or algae may appear gray, green, or black and remain associated with damp, shaded areas. A failing coating can carry salts to the surface and make the pattern harder to read.
Inspect both the deposit and the wall around it. Note whether the material is bare or coated, whether paint is blistered, and whether the deposit is concentrated at mortar joints, cracks, the base of the wall, parapets, openings, or downspouts. The location often points toward the water path.
Trace the Moisture Before Specifying Paint
Walk the building after rain when possible, or ask the owner when the deposit is most visible. Check the roof edge, gutters, downspouts, copings, flashing, window and door sealant, control joints, penetrations, sprinklers, and grade. On an interior masonry wall, inspect plumbing, exterior drainage, crawlspaces, and ventilation on the opposite side.
High on the wall. Look at roof edges, parapets, coping joints, and failed flashing.
Around windows or doors. Inspect sealant, head flashing, sill drainage, and cracks at the opening.
At the bottom of an exterior wall. Check grade, splashback, irrigation, downspout discharge, and capillary movement from soil.
On an interior block wall. Consider exterior water, plumbing, condensation, and below-grade pressure.
Across new masonry. Confirm cure time, weather exposure, and whether construction moisture is still leaving the assembly.
A painter may identify the likely source without being the trade that repairs it. State clearly when roofing, drainage, masonry, waterproofing, or plumbing work needs to be completed before coating. Paint should not be sold as a substitute for those repairs.
Remove the Deposit Without Damaging the Surface
Begin with the least aggressive method that removes the salts and leaves a sound profile. Dry brushing with a stiff nonmetallic brush and vacuum collection may be enough for a light deposit. Heavier accumulation may require washing or a masonry-cleaning product. Protect adjacent metal, glass, plants, and finished surfaces, and control runoff.
Acid cleaning is not a universal first step. The wrong concentration or poor rinsing can etch the surface, change mortar color, damage adjacent materials, or leave residue that interferes with coating. Use a cleaner approved for the masonry and coating system, follow its dilution and neutralization instructions, and test an inconspicuous area.
Remove loose paint and unsound masonry after the moisture source has been addressed. Open cracks, failed mortar, and deteriorated stucco need repair with compatible materials. Allow cleaning water and repairs to dry and cure before coating. A wall that looks dry at the surface may still contain enough moisture to affect adhesion.
Determine Whether the Efflorescence Is Still Active
After cleaning, allow time for the wall to respond to normal weather and building conditions. If the white deposit reappears, moisture is still moving salts to the surface. Coating at that point hides the evidence without resolving the condition.
Use the moisture and pH checks required by the coating manufacturer. New cementitious surfaces are alkaline and need adequate cure before many conventional coatings. A common guideline is about 28 days for new concrete or mortar, but the product data sheet and actual substrate conditions control. Some systems are designed for higher pH or earlier application, while others are not.
Select a Coating System for the Wall Assembly
Once the source is corrected and the surface passes the required checks, select a primer and finish designed for the masonry, alkalinity, porosity, and exposure. A sound but porous wall may need a masonry primer or conditioner. A repaired stucco wall may need a system that builds uniformly across patches. Bare block has different suction and texture from previously painted brick.
Consider vapor movement before specifying a low-permeance coating. Masonry that receives moisture from behind needs a way to dry, and trapping that moisture can move the failure to the coating interface. Elastomeric coatings can bridge small nonmoving cracks and provide weather resistance when correctly specified, but they do not repair an active leak or relieve hydrostatic pressure.
Verify the coating is approved for the exact masonry and existing finish.
Check surface pH and moisture limits in the technical data sheet.
Confirm cure times for new stucco, mortar, concrete, and repair products.
Match the primer to porosity, chalking, alkalinity, and previous coating condition.
Review vapor-permeance and waterproofing claims in relation to the wall assembly.
Apply at the listed spread rate and environmental conditions rather than stretching coverage.
Document What the Painting Scope Does and Does Not Cover
Photograph the deposit before cleaning and note its location. Record the suspected moisture source, who is responsible for repairs, the cleaning method, repair products, cure dates, and test results. If the owner declines a recommended water-management repair, do not bury that decision inside general preparation language.
On older buildings, the exact moisture path may require investigation beyond a painting walkthrough. The estimate can separate diagnostic cleaning or a test area from full coating. A small trial section observed through a weather event is more useful than coating the entire wall and waiting to see whether it fails.
Common Efflorescence Mistakes
Painting over visible salts after a quick wipe.
Assuming a phone description is enough to diagnose the wall.
Using aggressive acid cleaning without testing, protection, or full rinsing.
Coating new masonry before the required cure, pH, and moisture conditions are met.
Specifying elastomeric paint as the repair for an active roof, grade, or below-grade water problem.
Ignoring the back side of the wall and focusing only on the painted face.
Failing to record repairs and test conditions before coating.
Efflorescence Questions
Can you paint over efflorescence?
Do not coat over the deposit. Remove it, correct the moisture source, allow the masonry and repairs to cure and dry, and verify that the surface meets the coating system's requirements.
Will efflorescence come back after cleaning?
It can return if water continues moving through salt-bearing material. Reappearance after cleaning is evidence that the moisture condition is still active.
Does masonry sealer stop efflorescence?
A compatible sealer can reduce water entry in some applications, but it does not correct every source and may be unsuitable when moisture enters from behind. Diagnose the wall assembly and follow the product specification.
How long should new masonry cure before painting?
Many conventional coating systems use about 28 days as a general cure period, but products vary. Confirm the coating data sheet, substrate pH, moisture condition, repair materials, and weather before scheduling paint.
Final Thoughts
Efflorescence is evidence of water movement. Remove the salts, trace and correct the moisture path, allow the wall to cure and dry, and choose a primer and finish compatible with the full assembly. A standard finish coat cannot turn an active moisture condition into a sound paint job.
Where HeyPros Fits In
HeyPros connects painting contractors with homeowners and property owners planning local work. When a masonry lead mentions white powder, peeling paint, or recurring stains, ask for wide and close photos, the wall location, rain or irrigation patterns, and whether the surface is above or below grade. That information helps you plan a useful site inspection instead of arriving prepared only to choose a color.
Suggested internal links
How Painting Contractors Should Decide If a Lead Is Worth It
The Walkthrough Habits That Help Contractors Write Better Estimates
