
Flooring installation estimates often become unprofitable before the first new plank is laid. The problem usually starts in the tear-out and preparation line items. A room may measure 800 square feet, but 800 square feet of floating laminate does not require the same labor as 800 square feet of glue-down vinyl, stapled hardwood, or tile over cement board.
Removal and preparation need to be estimated as their own phase of work. The labor includes breaking the existing floor free, moving debris through the house, loading it, disposing of it, cleaning the substrate, correcting conditions that prevent installation, and protecting the occupied areas around the work. A single low tear-out rate rarely covers all of that.
Start With the Existing Floor System
The visible finish tells only part of the story. During the walkthrough, identify the flooring material, attachment method, number of layers, substrate, room access, and transitions into adjacent finishes. Look at floor vents, doorways, closets, appliances, and damaged edges where the assembly is easier to see.
Floating laminate or click-lock LVP is usually fast to separate, but the work slows when the floor runs under cabinets, built-ins, or tight door jambs. Carpet removal includes pad, tack strip, staples, and the handling of bulky rolls. Nail-down hardwood creates dense debris and leaves fasteners that must be pulled, cut, or driven below the surface. Glue-down flooring often makes removal only the first part of the job because the adhesive left behind determines how much preparation follows.
Tile needs its own production rate. Tile size, mortar coverage, underlayment, mesh, and the method used to fasten cement board all affect removal. A floor that releases in large sections is a different project from tile bonded directly to concrete or installed over heavily screwed backer board.
Write down what was actually observed instead of labeling every floor as standard tear-out. The estimate should describe the existing material and the conditions included in the price.
Separate Removal From Debris Handling
Removing material from the floor and getting it out of the house are different labor activities. A crew working in a first-floor room with a door to the driveway will move faster than a crew carrying debris down stairs and through a finished hallway.
Consider the distance to the trailer or dumpster, whether the path must remain clean for the homeowner, and how often the crew will stop to move debris. Heavy tile, mortar, and hardwood also create weight limits that light floating floors do not. Disposal pricing should account for container charges or dump fees, travel time, unloading time, and the labor used to load material during the job.
Occupied homes need additional protection. Floor runners, dust barriers, temporary pathways, daily cleanup, and moving furniture between work areas all consume hours. Those hours belong in the tear-out phase even though they do not add square footage.
Price the Attachment Method
Square footage is still useful, but it should be paired with a removal rate that matches the attachment method. Build separate production records for the floor types your company removes regularly. Track total crew hours from the start of protection through final debris loading, then divide those hours by the quantity completed.
A two-person crew that spends 14 total labor hours removing and loading 700 square feet produced 50 square feet per labor hour. That rate is more useful than remembering that the job took one day. It lets you compare future projects using labor hours rather than calendar time.
Record difficult areas separately. Stairs, narrow closets, glued transitions, toe-kick areas, and flooring trapped under cabinets should not disappear inside the main room rate. Price them by unit, linear foot, or a separate labor allowance based on how your crew performs the work.
Treat Subfloor Preparation as Defined Work
The condition under an existing floor is partly concealed until removal begins. That does not mean preparation should be free or completely open-ended. Define the preparation included in the base estimate and state how additional work will be priced.
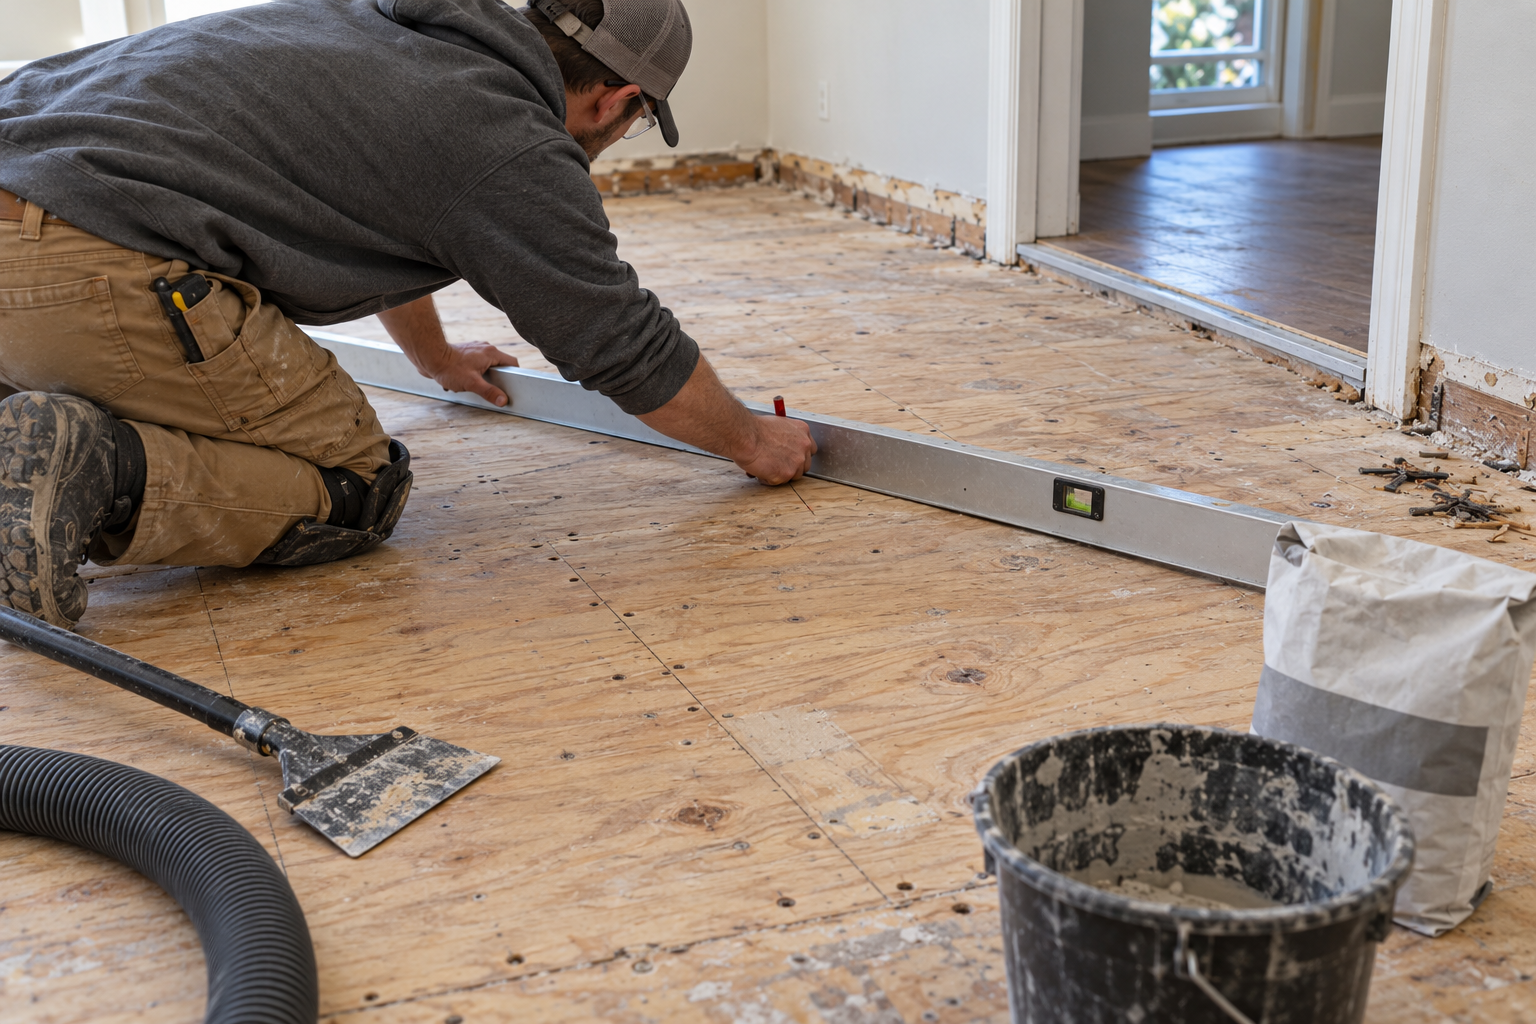
For a wood subfloor, the base scope might include removing ordinary staples, setting exposed fasteners, vacuuming, and checking the surface with a straightedge. Loose panels, damaged sheathing, raised seams, excessive deflection, and widespread patching are separate conditions. Each one requires materials and labor that were not part of basic cleanup.
Concrete preparation often includes scraping adhesive, grinding high spots, filling small voids, and removing residue that interferes with the new installation. Some adhesives release with hand tools. Others require powered scraping or grinding and dust collection. The estimate should not use the same preparation allowance for both conditions.
Flatness requirements come from the flooring manufacturer, and they apply to the substrate rather than the appearance of the old floor. Check the installation instructions for the product being quoted. Use a straightedge across representative areas during the walkthrough when possible, then document areas that need correction after demolition exposes the full surface.
Use Clear Allowances for Concealed Conditions
A practical estimate can include a defined amount of ordinary preparation and a unit price for work beyond it. This gives the homeowner a useful starting price without forcing the contractor to absorb every concealed condition.
For example, the estimate can include routine scraping and fastener removal, then list additional floor patching by bag installed, plywood replacement by sheet, grinding by labor hour, or self-leveling underlayment by measured area and material quantity. The exact units should match how the company buys the material and tracks production.
Describe the approval process as well. Photograph the exposed condition, explain why it prevents installation, provide the added price, and obtain written approval before proceeding. The homeowner should see the condition and the cost before the crew covers it with new flooring.
Do not use a broad statement such as “subfloor repairs extra” as the entire plan. That wording identifies a risk but gives neither side a usable way to price it. A short schedule of unit prices or labor rates makes the adjustment easier to explain and document.
Account for Drying and Cure Time
Preparation affects the schedule as well as the price. Patching compounds, primers, moisture-control products, and self-leveling underlayments have application limits and cure times. A floor may be ready for foot traffic before it is ready to receive adhesive or finished flooring.
Build those requirements into the production plan. If leveling work takes most of a day and the product needs additional cure time, the installation crew should not be scheduled as though tear-out and installation will run continuously. Returning the next morning still creates travel, setup, and another block on the calendar.
Moisture evaluation also needs to follow the new flooring and adhesive manufacturer’s requirements. The estimate should state which testing is included and how corrective systems are handled when readings fall outside the published limits. This keeps the contractor from promising an installation method before the exposed substrate has been evaluated.
Build a Repeatable Estimate Structure
A flooring removal and preparation estimate is easier to manage when the scope is divided into visible phases:
Protection, furniture handling, and appliance access
Removal by flooring type and attachment method
Debris movement, loading, and disposal
Base subfloor cleaning and preparation
Known repairs or leveling identified during the walkthrough
Unit prices or allowances for concealed conditions
New flooring installation, trim, transitions, and final cleanup
This structure makes the estimate easier for the homeowner to understand and gives the crew a usable scope. It also helps the company compare estimated hours with actual hours after the project.
Avoid combining tear-out, preparation, and installation into one square-foot number unless the work is highly repeatable and the existing conditions are known. A single blended rate makes it difficult to see which phase missed the estimate. It also makes future pricing harder to correct.
Measure the Job After Completion
Close the loop once the project is finished. Record crew hours for protection, removal, debris handling, preparation, and installation separately. Note the attachment method, substrate, access conditions, disposal quantity, and preparation materials used.
The goal is not to create a complicated report for every room. The goal is to know why one removal produced 80 square feet per labor hour while another produced 25. After several jobs, the company will have reliable rates for the floor systems and job conditions it sees most often.
That information improves future estimates and scheduling. The next job can be priced from recorded labor instead of a general tear-out number that came from a different type of floor.
Related reading:
The Walkthrough Habits That Help Contractors Write Better Estimates
How Contractors Should Document Pre-Existing Damage Before Work Begins
Contractors looking for new homeowner projects can explore available leads and opportunities at HeyPros.
