
The wall area does not change when a homeowner replaces navy with warm white, but the labor and material required to finish that wall often does.
A major color change affects coverage, primer selection, coat count, dry time, cutting in, material orders, and the number of times the crew must reset an occupied room. Treating every repaint as the same two-coat job puts the contractor in a bad position before the first gallon is opened.
A dependable estimate starts with the existing surface, the selected color, the specified product, and a written coating system. The purpose is not to predict every wall perfectly. It is to define what is included, price the work that is reasonably expected, and explain how the contractor will handle coverage that falls outside the stated scope.
Inspect the Existing Surface Before Promising a Coat Count
Color is only one part of coverage. Existing sheen, wall texture, repairs, stains, fading, porosity, and previous paint quality all affect how the next coating looks. A flat beige wall in good condition behaves differently from a patched satin wall with several touch-up areas, even when both are changing to the same finish color.
Look at the walls in side light and normal room lighting. Identify glossy areas, bare drywall paper, joint compound, marker, water staining, smoke residue, grease, and old repairs. Ask whether the homeowner knows what product or sheen is currently on the wall. When the existing coating is slick, damaged, contaminated, or unknown, the estimate needs to include the preparation and primer required for that condition.
The walkthrough also needs to confirm whether ceilings, closets, trim, doors, and wall returns are part of the color change. Homeowners often point to the main walls while expecting small connected surfaces to match. Listing each surface in the estimate prevents the crew from having to settle that question after the room is protected.
Separate Surface Preparation From Color Coverage
Additional preparation and additional finish coats solve different problems. Sanding a glossy surface improves adhesion. Sealing torn drywall paper controls bubbling. A stain-blocking primer isolates discoloration. Repairing nail pops and damaged corners restores the surface. None of those steps automatically guarantees that the finish color will hide in one coat.
Write preparation as its own part of the scope. State the repairs, cleaning, sanding, spot priming, or full priming that the price includes. Then state the finish system separately. This makes it clear that the crew is not using an extra coat of finish paint as a substitute for proper preparation.
For repaired walls, appearance also depends on texture and absorption. The article How Painting Contractors Can Keep Drywall Repairs From Flashing Through Paint explains why a smooth patch can remain visible after it has been coated.
Understand How the Selected Color and Base Affect Coverage
Paint coverage is product-specific. Deep bases, bright colors, clean yellows, strong reds, and some low-hide formulations often build color differently from an off-white made in a white base. A manufacturer might recommend a tinted primer or a particular undercoat for certain colors. The finish sheen and application thickness also matter.
Review the current technical data for the exact product instead of relying on a remembered rule from another line of paint. Confirm the recommended spread rate, dry film thickness, recoat time, primer compatibility, and any instructions tied to the selected color or base.
A fan deck chip is useful for choosing a color, but it does not show how that color will cover the existing wall. The same formula also looks different under daylight, warm lamps, and cool recessed lighting. When the homeowner is making a large change, ask for the final color and sheen before the estimate is approved whenever possible.
Decide When Primer Belongs in the Coating System
Primer earns its place by solving a specific surface or color problem. Bare repairs need to be sealed. Stains need a blocking product rated for the source. Glossy or difficult substrates often require an adhesion primer or another preparation method. Strong color changes sometimes benefit from a manufacturer-recommended tinted primer that gives the finish coat a more uniform starting point.
Primer is not automatically a cheaper replacement for a finish coat, and a generic white primer is not the correct answer for every change. Price the system that the substrate and finish product require. If a tinted primer is specified, record the tint or recommended undercoat so the paint store and crew are working from the same information.
On an occupied repaint, primer also adds a full application and drying step. The estimate needs to account for the room staying protected, furniture remaining displaced, and the crew returning after the surface is ready to recoat. That labor is real even when primer costs less per gallon than finish paint.
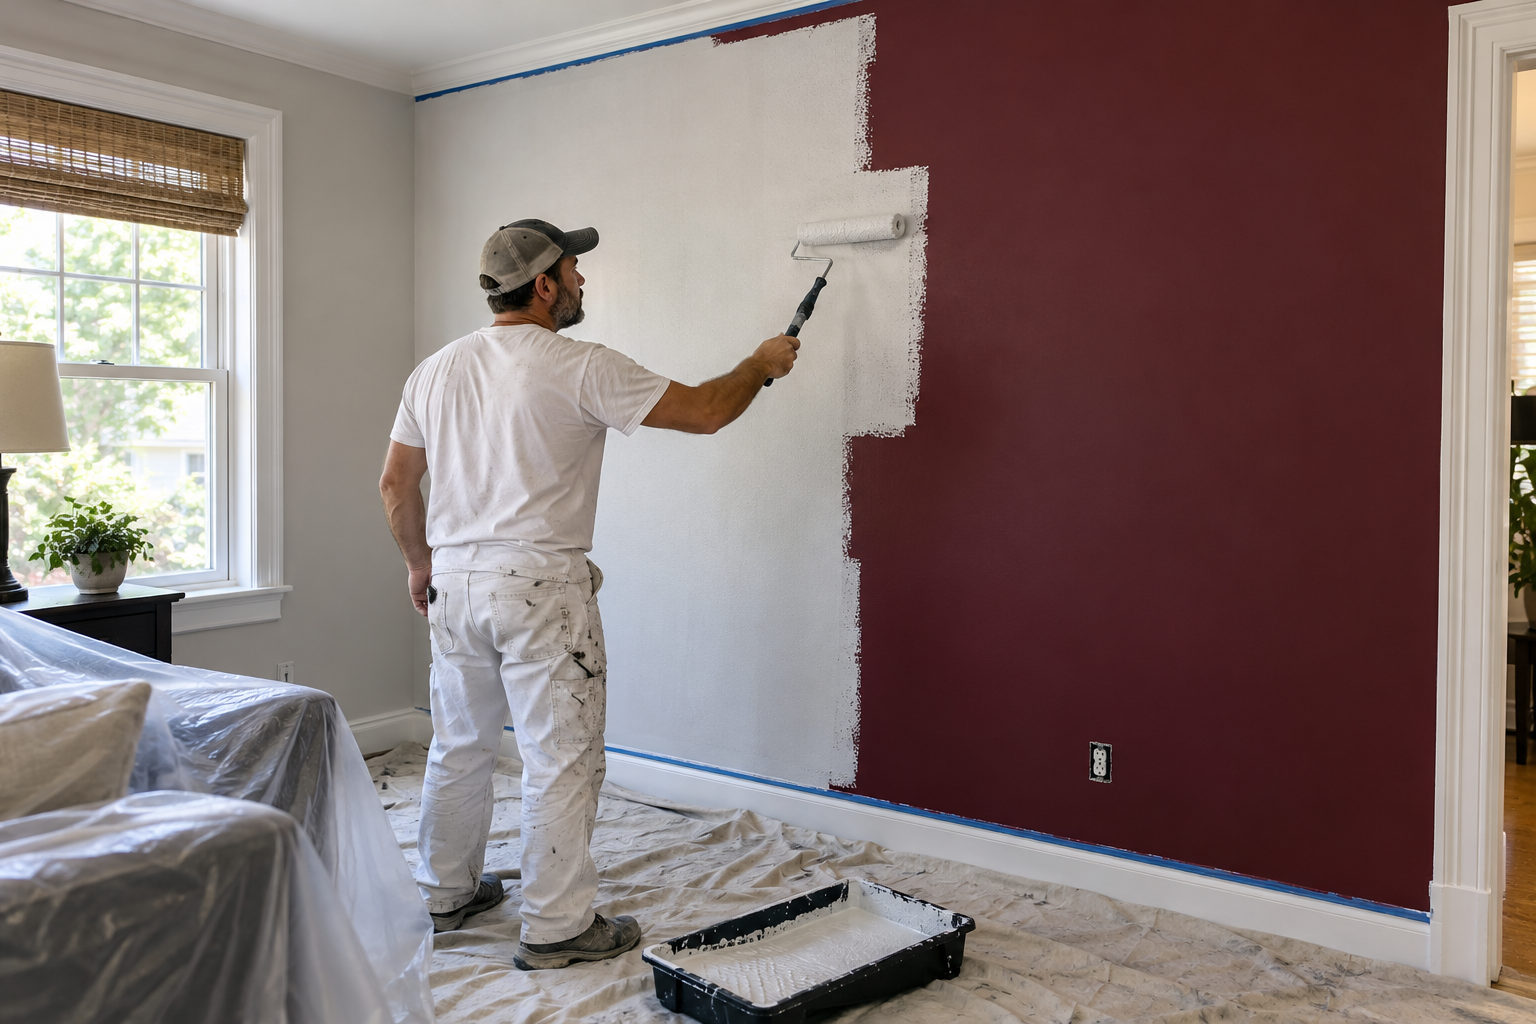
Use a Field Sample When Coverage Is Uncertain
A sample area gives the contractor better information than a small paper chip. Apply the proposed primer and finish system to the actual wall using the intended roller cover or spray-and-back-roll method. Let each layer dry for the required time before judging color and hide.
Place the sample where it can be viewed under the room's normal lighting, but avoid using a test patch as the final finish plan. A heavily built sample can leave a different texture or film thickness that photographs through the completed wall. The sample is for evaluating the system and confirming the homeowner's color, not for replacing full-wall application.
Record the product, color name and code, sheen, primer, number of sample coats, and the result. A photo of the dry sample next to the existing wall gives the estimator and crew a useful reference, although the signed scope should remain the controlling document.
Price a Defined Number of Coats
“Paint walls until covered” leaves the contractor responsible for an open-ended amount of work. A stronger estimate states the included coating system in plain language. For example, the scope might include one full coat of specified primer and two full finish coats on the listed walls.
The estimate also needs to define what counts as satisfactory completion. Uniform color and sheen under normal viewing conditions is a practical standard. Expecting every repaired area to disappear under extreme side lighting or expecting one product to correct poor texture is a different scope.
When coverage is uncertain, include a unit price or written change process for an additional full coat. Give the homeowner the amount before work starts, then obtain approval if the extra coat becomes necessary. The crew should not be negotiating the price while a room is already masked and the paint is drying.
Estimate Paint Quantity From the Complete System
Wall square footage is only the starting point. Subtracting every opening can understate the order because paint is still consumed in cut-in, roller loading, waste, and touch-up. Adding a blanket waste percentage without considering the room layout is not much better.
Calculate each coating layer separately. Primer and finish often have different spread rates. Rough texture, porous repairs, heavy tint, and the chosen application method change actual usage. Gallons also have to be purchased in available container sizes, and running short on a custom color creates avoidable downtime and matching risk.
Use the product's listed coverage as a planning range, then compare it with your own completed jobs. The guide How Contractors Should Build Material Waste Into an Estimate covers the difference between measured quantity and the amount a crew should actually order.
Account for Cutting In, Recoat Time, and Room Resets
An additional coat is not only another roller pass. The crew has to reopen material, mix paint, cut the room again, roll the walls, check the finish, clean tools, and keep protection in place. Small rooms with several doors, windows, built-ins, and color breaks often take more labor per square foot than an open room.
Drying and recoat requirements also affect the schedule. A crew cannot force a second coat onto paint that is not ready because the homeowner wants the room back that afternoon. Cool temperatures, limited ventilation, higher humidity, and a heavy film extend the time before recoating or final inspection.
Occupied work adds daily setup and reset time. If the homeowner needs a bedroom usable each night, the crew might have to complete the project in smaller phases. The planning steps in How Contractors Should Plan Work in an Occupied Home Before Day One help account for those conditions before the start date.
Document the Approved Color, Product, and Sheen
“White walls” is not enough information for ordering or production. Record the manufacturer, product line, color name, color code, sheen, and approved sample location. Note which surfaces receive each finish. If the walls, trim, and ceiling use different whites, label them separately.
Set a selection deadline that leaves time to confirm availability and order the correct quantity. Late color changes create more than a paint-store problem. They affect primer, material cost, production time, and the sequence already assigned to the crew.
Ask the homeowner to approve the final selections in writing. The crew packet should carry the same information as the estimate so no one is trying to read a smudged can lid or search through old text messages on the first morning.
Handle Additional Coats Before Applying Them
If the included system has been applied correctly and the color is not uniform, document the condition after the specified dry time. Take clear photos, confirm that the correct products and application rates were used, and explain what another coat will cost.
Do not apply the extra coat and add it to the final invoice without approval. That approach turns a technical coverage issue into a billing dispute. A signed change order or written authorization keeps the homeowner informed and gives the crew a clear direction.
The same process protects the contractor when the homeowner changes color after work begins. Separate the completed work from the revised selection, price the added primer or coats, and update the completion date if the new system requires more labor or drying time.
Use Completed Jobs to Improve the Next Estimate
After closeout, compare estimated gallons, actual gallons, planned labor, actual labor, and the coating system that was used. Note the starting color, finish color, surface condition, room type, and any extra coat that was approved.
Over time, those records become more useful than a general price-per-square-foot shortcut. A company can see which products cover predictably, which colors repeatedly require another step, and how much labor a full additional coat takes in the types of homes it normally paints.
The point is not to promise a perfect prediction. It is to keep the same avoidable miss from appearing in estimate after estimate. Major color changes are easier to price when the contractor treats the coating system, labor sequence, and approval process as part of the scope.
Related reading:
How Painting Contractors Can Keep Drywall Repairs From Flashing Through Paint
How Contractors Should Build Material Waste Into an Estimate
How Contractors Should Plan Work in an Occupied Home Before Day One
Contractors looking for new homeowner projects can explore available leads and opportunities at HeyPros.
